Sunday 3 April 2011

290311 - Redoing the Fox pt3

After a rough Monday morning with my car breaking down in rush hour traffic. The problem was a broken valve spring for those that know what one is, meaning I needed to take the head off the engine and rebuild it for a second time in less than 6000 miles/7 months. The only upside is I do the work myself so now over priced garage costs. The downside, I have no car until I can find/make the time to work on it.

Anyway, I managed to get in early on Tuesday morning and mix up another batch of foam latex and get it in the oven before anyone else was in to use them.

For this mix I added some orange ink, in the hope that the fox would turn a fetching orange colour and it would mean I would'nt have to struggle sorting out a method of painting it.

However, this didn't quite go to plan.

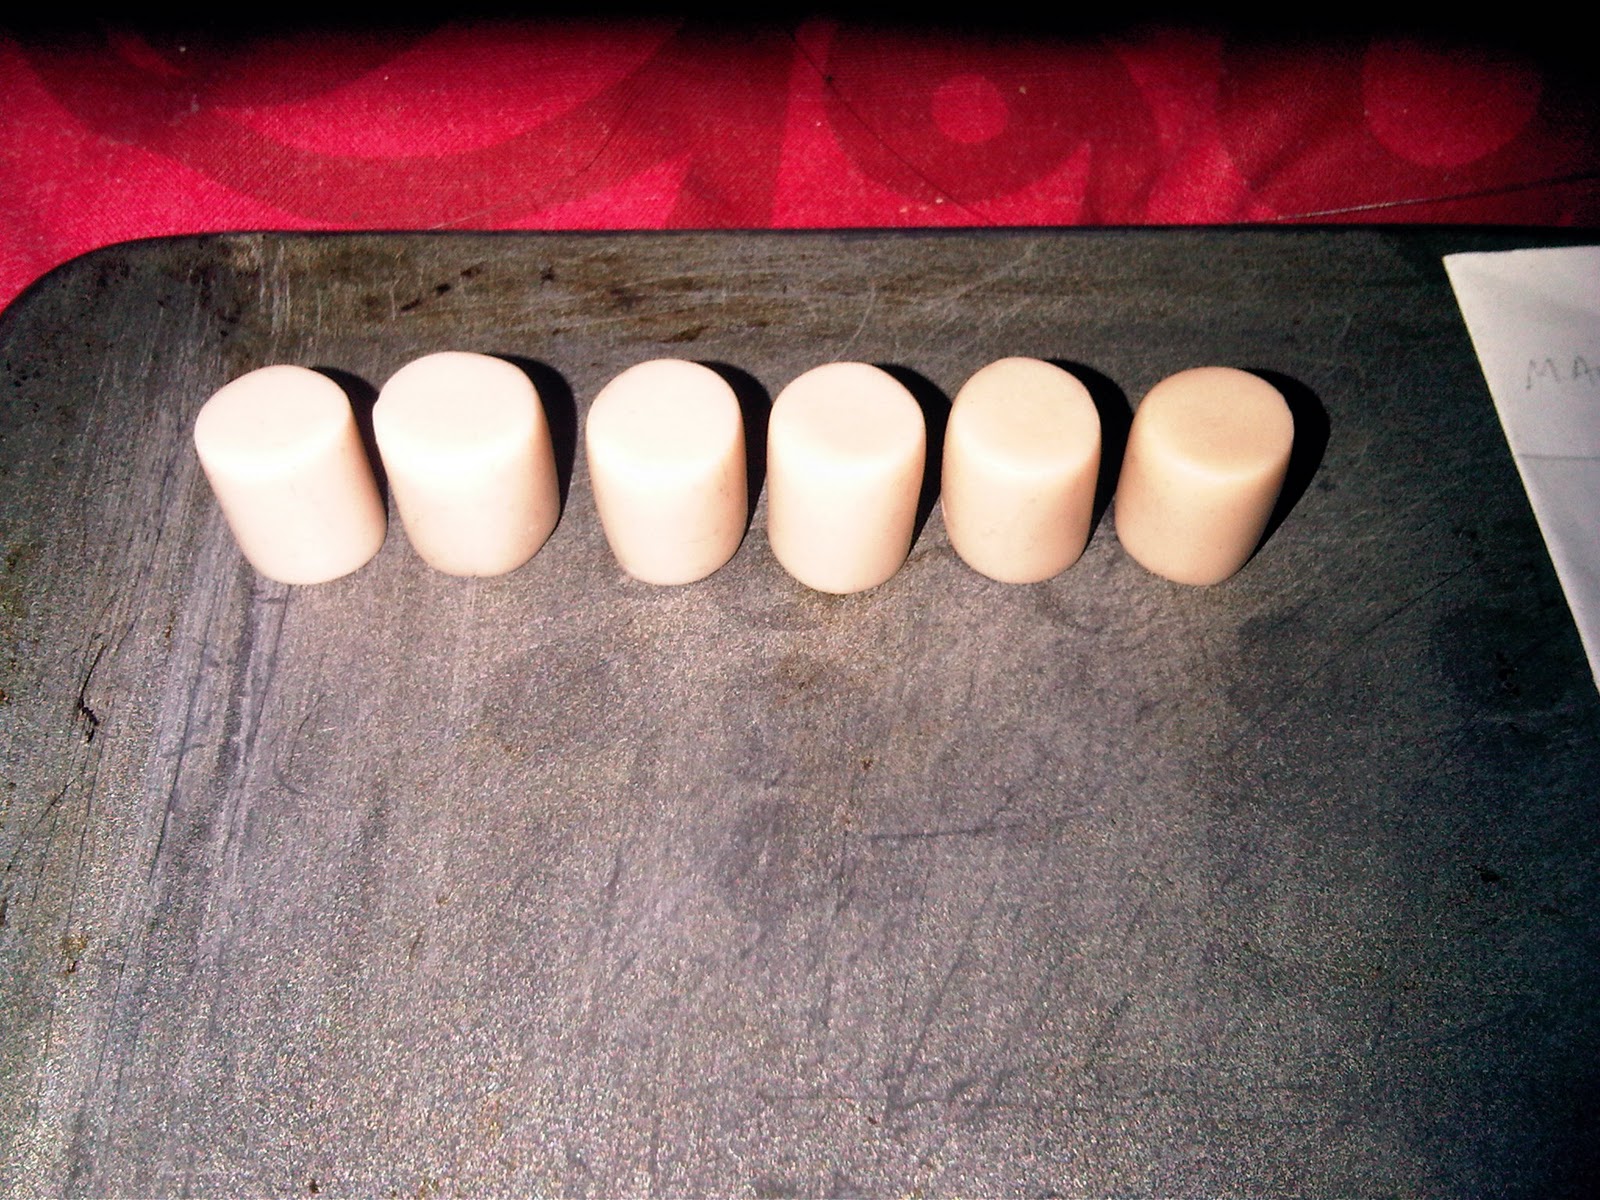
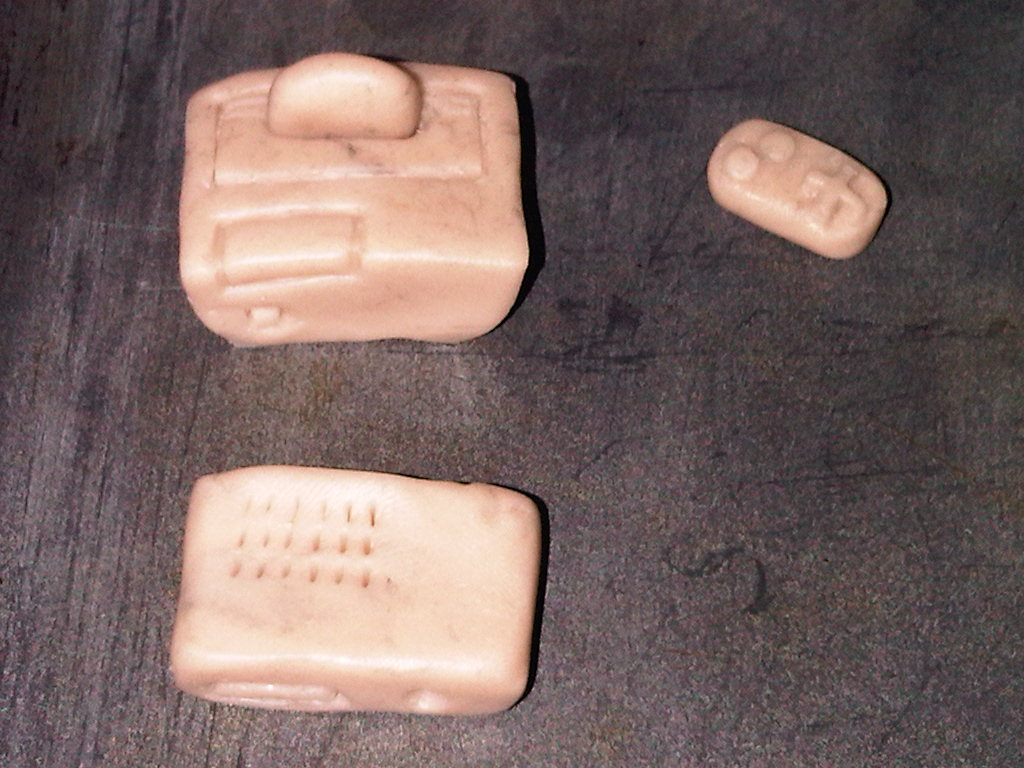
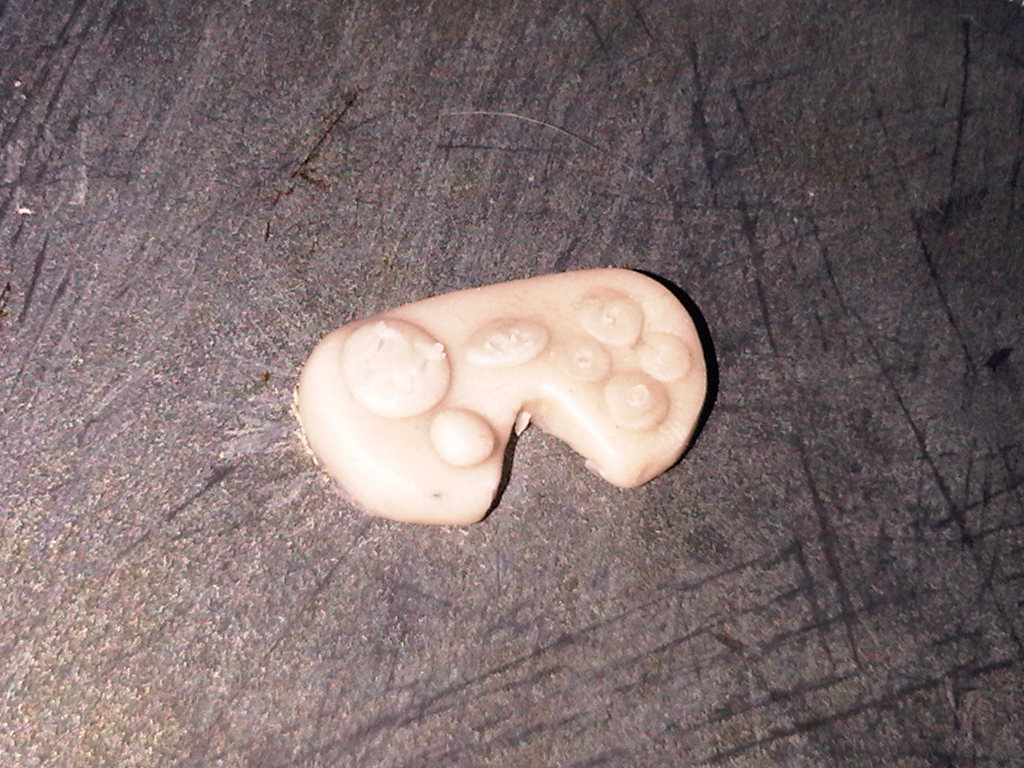
Although the fox came out amazingly well, alot better than the first one, fewer imperfections and tissue paper thin flash lines giving me a nice clean seam, he came out a fetch pink.

All the foam that was on the outside of the mould and open to the direct heat of the oven, turned the orange I was hoping to. But, all the foam in the mould/up against the side of the mould stayed pink.


My only explanation for this, is that the direct heat from the oven brings out the colour, meaning my only chance of turning the fox orange, from this is to cook it in the oven, out of the mould in the hope that it darkens.

Failing that, some different avenues will have to be looked into regarding the painting of foam latex.

However, for now I'm just happy that it worked, and worked so well, as it hasn't all been plain sailing. I had 2 batches of foam latex the week prior fail, setting in only 2 minutes, rather than 20. For this batch I reduced the amount of gelling agent but 2 grams and this game a good 20 minutes to work with the foam before it gelled.

260311 - The Props pt 1

I began some work on making a few props for the man, for use in his house.

For most of the props I will be using Super Sculpy and Milliput, as these are strong, durable, drill-able, quick to make with and take paint well.


Using the man to get the correct scale (roughly 1:8) I first made a set of 6 mugs.

For now these are just the rough, bare bones. They will be later drilled and handles glued on.


I also made an old cartridge game console, which is a mash up of the Mega Drive/Master System and a Nes. A plug  and a wire for the controller has yet to be added at this stage.

 This will be used for when the man is poor and has little money.


The bottom console will be his new, smaller, slick console, which is very loosely based on an XBox or a PS3, along with a match wireless controller.

This will replace his old console as he spends the money, from the money tree.


I also made up some small acorns, which I will be using on Newtons Cradle for my Fox's desk where he will work.

Once the Super Scuply props were bakes in the oven I gave them a quick file/sand down to smooth them out and neaten up there shape.

I also made some mug handles from Milliput, once dried/set they were shaped using a number of small files and simple just glued onto the mugs.

The acorn "caps" were also made from Milliput, as this was a lot easier than trying to use the Scuply as it doesn't require baking again.

250311 - The Sets pt 2 and The Money Tree pt2

Today was yet more work on the sets.

I started work on making the money tree slightly higher and gave it roots so it could free stand and look more tree like.

May has finished up the forest floor, adding more colours and detail to it and working in some brown leaves and straw to give it more texture and more forest like, look.

Alex also added in the path which is made from PVA, sand and paint. This should be thin enough so the magnets can work through it, but also strong enough not to move underfoot, making the walkcycle clean and simple.


Tom and Me also carried on with the interior set.

Here you can see the fantastic sofa he hand built, along with his bean bag and also several props build by Alex.

Tom has also cut out the door and the window.


To make the rear wall stand up I made some slot in feet. This would allot it to be easily drilled into the base and also give strong points where the side walls can be fixed too.

Here this foot was cut down in such a way to accomodate the door opening and closing. 

Tom also filled in all the screw holes in the stairs and gave them their first coat of paint.

Just though the door you can also see the breeze block shelving that Alex made.


210311 - The sets pt 1

Today we started on the task of the sets.

Firstly I had to fit the second animation base I built to the table. A quick and simple task involving a drill and a few screws. Now we have two solid bases that won't budge and inch, this one will be used for our indoor/house scene, the other will be out forest scene.


Alex, May and myself began work on the forest floor. This is the rough design of how it's going to be laid out drawn by May, showing the different camera positions we'll be using to get the most from our set.


A high density pink foam is being used on the base to crease a banked/raised area in the forest. The rough shape of the area was simple cut out and taped into position use duck tape and hot melt glue.


Here's a shot, showing a few of the bare trees in position.


With the bare bones of the set now set up, May began work on the forest floor.

For this she mixed up a combination of sawdust, paints, PVA glue and water in a bin liner.


Once mixed and the correct colour and consistency reached it was them simple worked into the animation base.


Here I added a few of our brown leaves and bits of straw to see the effect and how it would look.


2 bags later and May had almost half done the forest floor.


While this was going Alex was working on a second back drop for the forest scene.


I was cutting down the MDF boards to size for our indoor set to create the walls.


By this point we realised that Tom and me made a mistake with the stairs. His measurements were off and the steps were way too big for the character, it was almost a leap just to get up one step.

To correct this, I quickly took the stairs apart and Tom cut each step in half, making them the right size for him to realistically walk up them.


The stairs now have about 14 steps, but they went together quicker than the first time round as all the holes were pre-drilled and it went together very easily.

It might've been extra work, however, at least the stairs are now to the right scale and when seen it should they will look right.

I'm just thankful he doesn't have to walk up them, as they'd have to be made from metal and it would've been a real pig having to cut welds.

210311 - The Money Tree pt2 and more branches

With the money tree essentially made and just a bare skeleton now, it needed it's leaves to finish it off.

I made the "leaves" on photoshop, they're just 10 and 20 currency notes, which will form the leaves on the tree.

Each note has a picture of a member of the group, along with an image that represents them.

May has a rainbow, Alex a Yoda model he made, Tom a bottle of rum and I've got a picture of a Land Rover.

The notes were laid out in such a way that they're cut in strips of two. This strip is then folded in half, which creates both sides of the note, then just simple glues together.


Once the glues dried, each note is then cut out and stored ready to be glued onto the money tree's branches.


While I was doing this Alex and May continued working on the branches of the trees, individually gluing leaves onto the branches used super glue.


At this point we'd barely scratched the surface, there are still around another 15-20 branches to do. They will later be attached to the trees we made from the pipe insulation and modrock, which will form out forest scene.

200311 - Redoing the Fox pt 2

To finish off the new armature for my fox, I decided that to improve on the last one I would block out the "bones" of the character, meaning only where I want the joints to be would move.

To do this I used lengths of K and S tubing, cut to length using my dremmel and an angle grinder attachment.


I first marked out the lengths that I required to do all 4 legs. Then, because I'd already attached the feet and couldn't slip the KandS over the armature I cut a line the full length of the tubing so I could split it open so I could fit them to the armature.


Once cut to length, using a small screwdriver and a pair of pliers I opening up the tubing just wide enough to go over the aluminium wire.


The pieces of KandS were filled for 2 pack epoxy, then clamped tightly into position and left to dry.

To finish the armature off I then drilled a few holes into the head and added the wire for his ears, jowls and his eyebrow ridge, to give him simple emotions.

180311 - The Money Tree pt 1

My next task was to make the money tree.

I made the money tree in exactly the same way we made the branches, essentially using lengths of brown paper covered wire, this time though, rather than using about 10 lengths I used over 30.


I was very pleased with the end result, now the pain staking task of fitting the leaves can begin.