Sunday, 15 May 2011

130411 - Painting the Fox pt2

We had a few days off at Easter, so I used this time to finish off some of the last of the props.

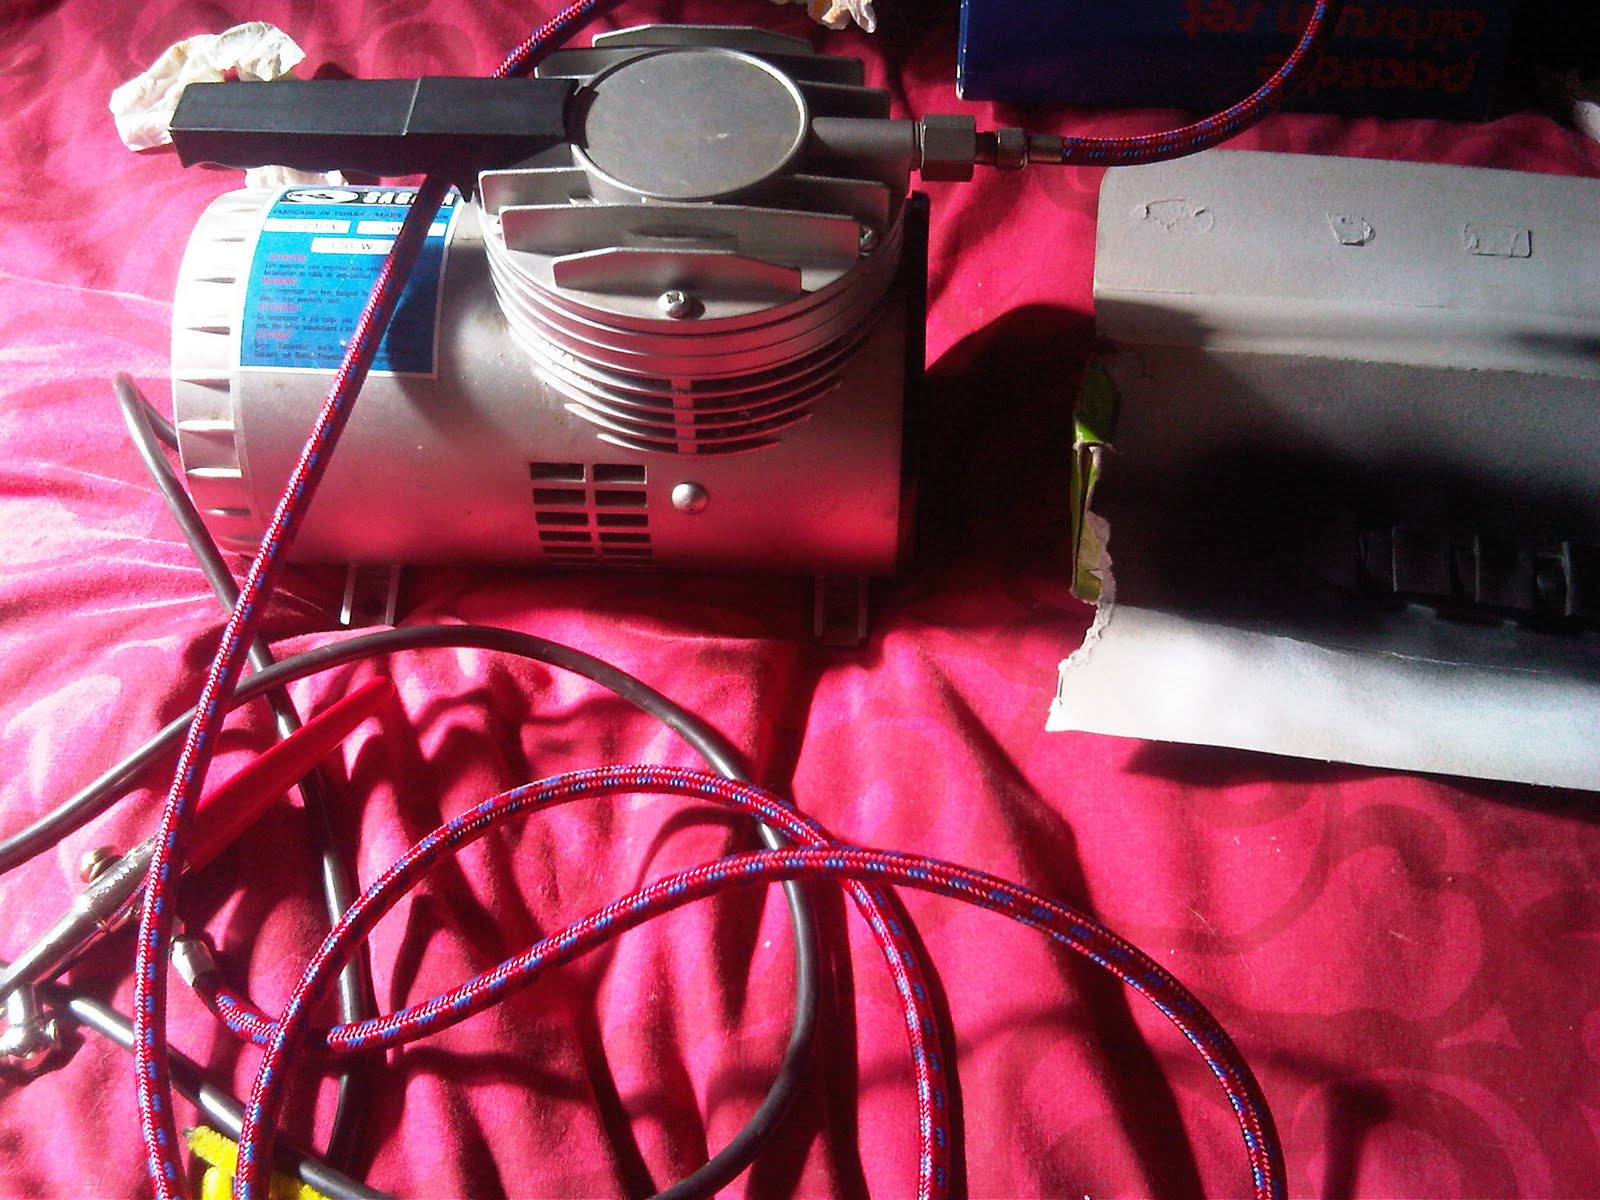
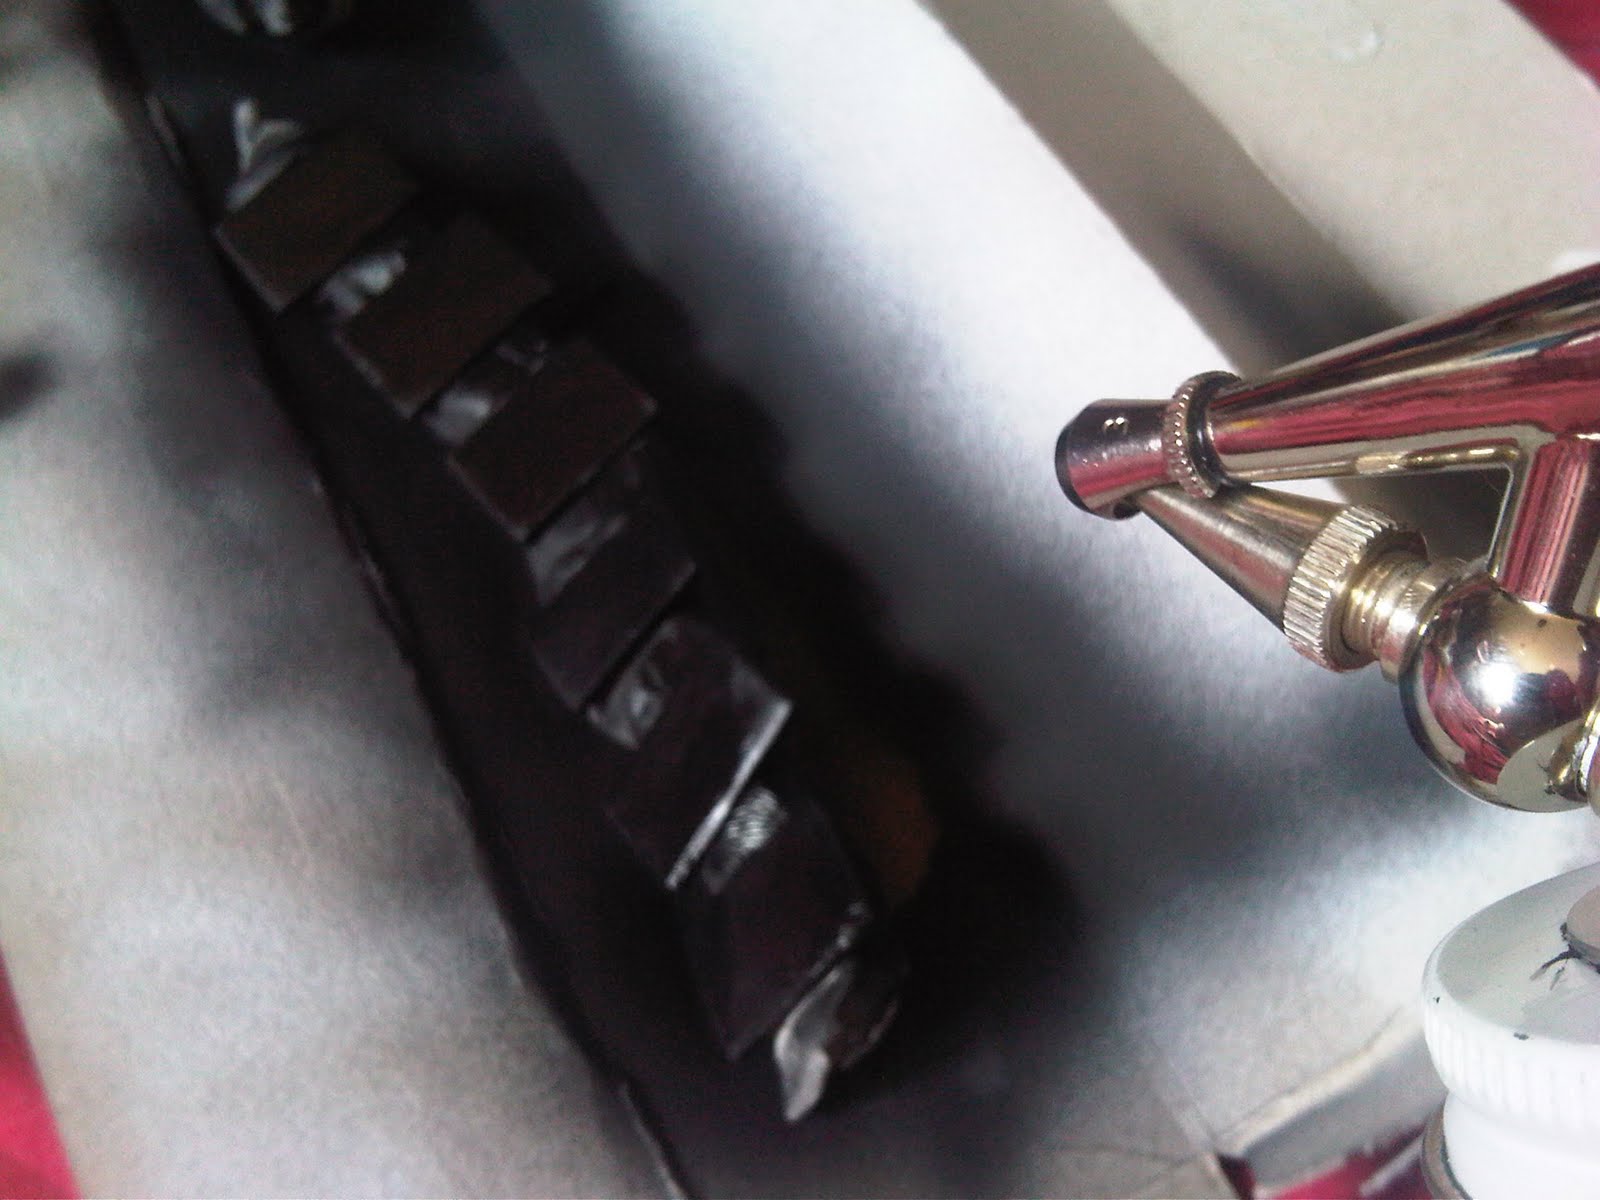
I made a very cheap and quick spay booth out of an old pizza box and a shoe box, held together using tape.

It might be cheap, but it worked a treat and made the whole thing so much easier and less messy.

Here I was spraying the Barney's mugs a nice bright blue to add some more colour to the set.


Once that was done and air brush thoroughly cleaned out I set about finishing the fox up.

I gave it a final coat of orange paint, and also painted the tail.


Once dry I then applied the white to all the areas that needed it, around the bottom half of the body, ears and tip of the tail.


I then finished the fox off with the final colour to be used on it, black.

This was applied by airbrush to the feet, and a fine brush used to add the detail to the face and ears of the fox.


I then positioned the fox in a standing/ready to walk pose and painted over any cracks that appeared.

All that remains to do on the fox now is add the eyes.


110411 - The Sets pt3

The finishing touches to the house set are now slowly being made and it's all really coming together.

Here Alex made a student-esque make shift set of shelves made to look like concrete blocks and scaffolding planks. It's been made from foam board and balsa wood.

He also made a to scale set of yellow pages and also a plant to sit on the shelves.

Here you can also see the DVD boxes I made, at home on the shelves.


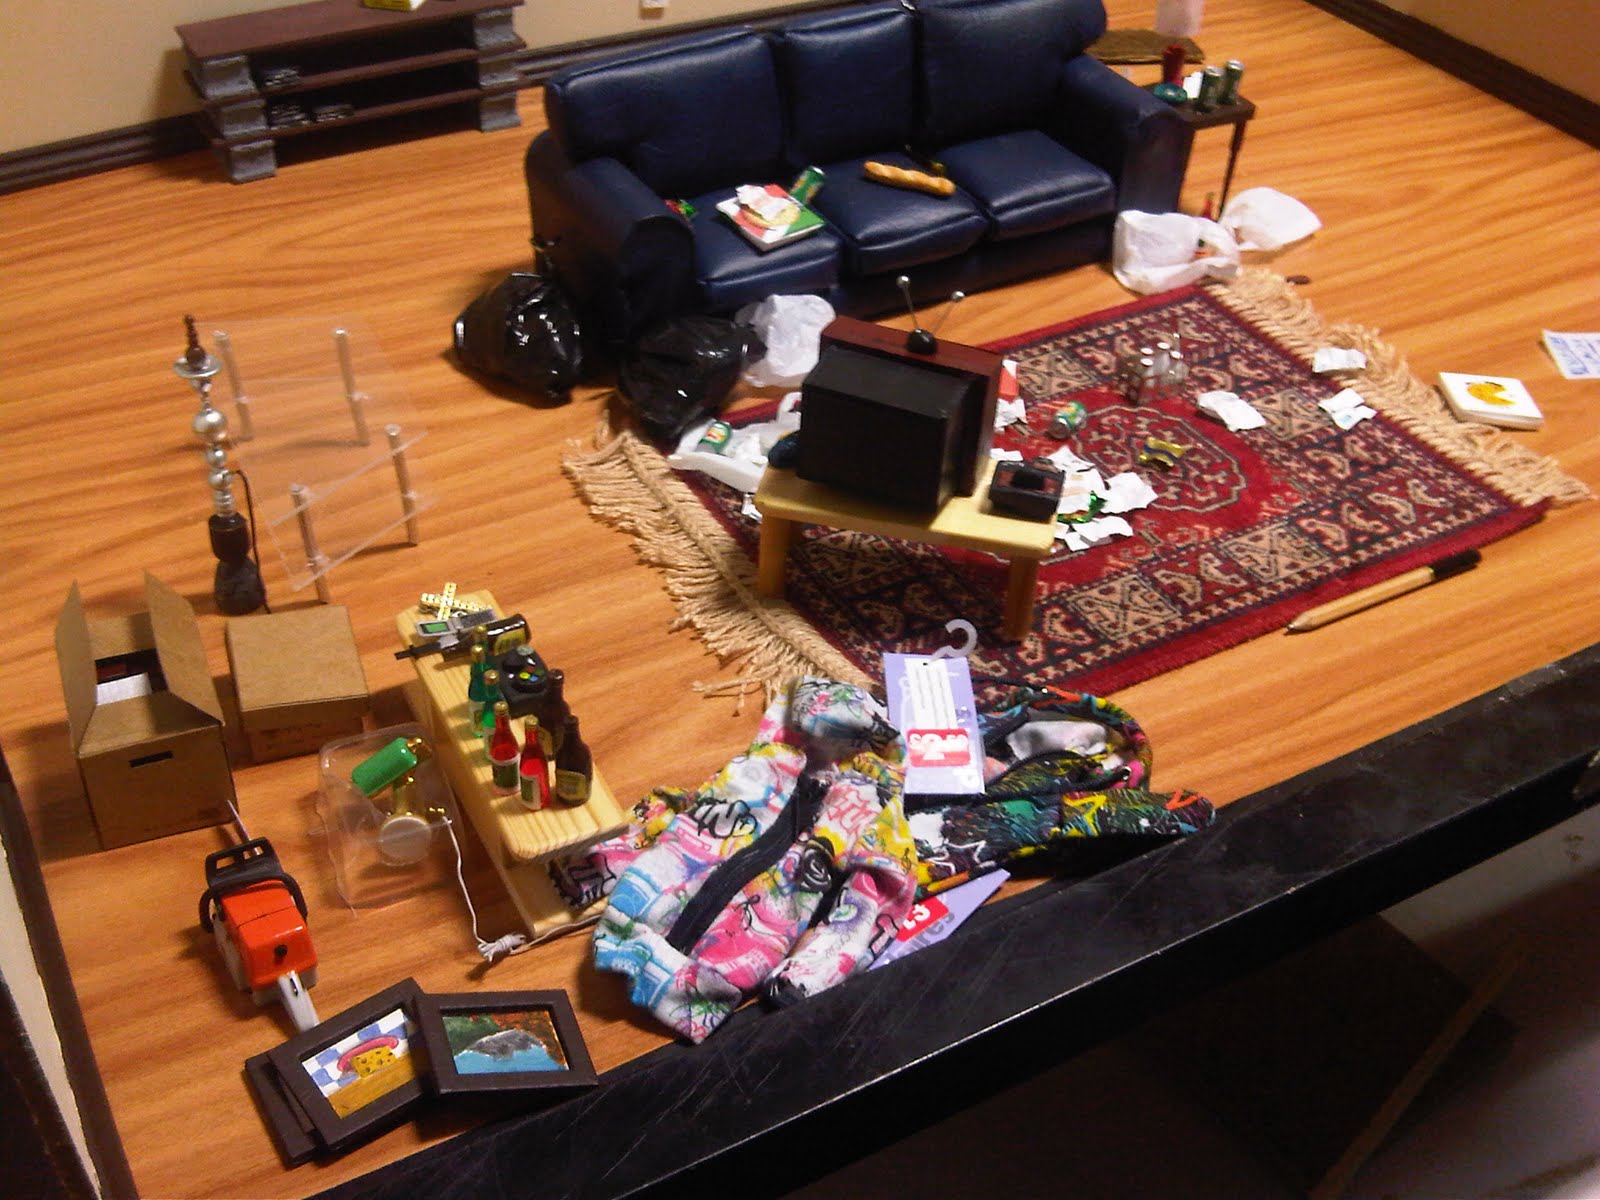
Here's a collection of all the props that have been made for the house set, mostly made by Alex and Tom.


Here's the old TV and table that Tom made, with the games console I made sitting in position next to it, surround by the bags of rubbish made by May and Alex.


The sofa, also made by Tom.


The new TV table made by May, along with a collection of bottles, with labels made by Alex, a collection of photos/pictures of the wall made by Tom and the new games console made my me.


Here we set up some lights and did a few lighting shots to see how well the room could be lit and also the sort of light that would come through the windows.


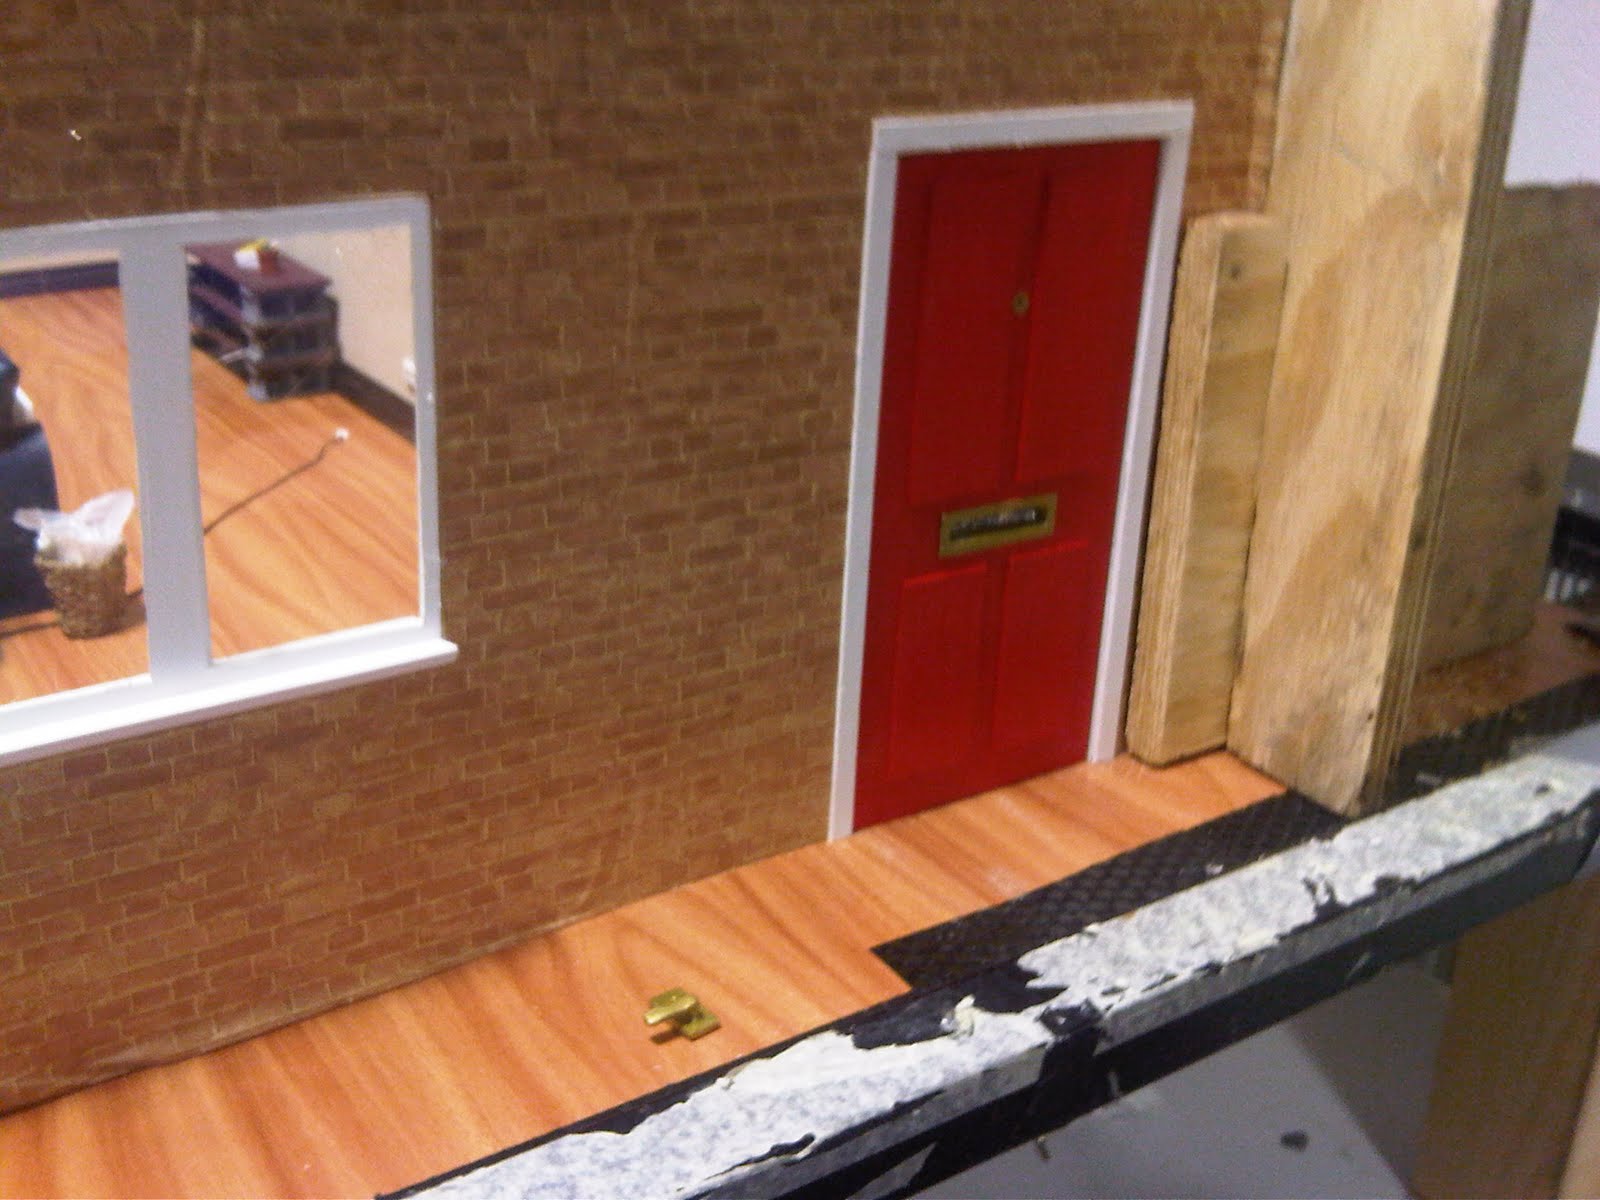
A shot of the house from the outside, with the door fitted, it now opens and closes and the letterbox also opens and closes as it should.


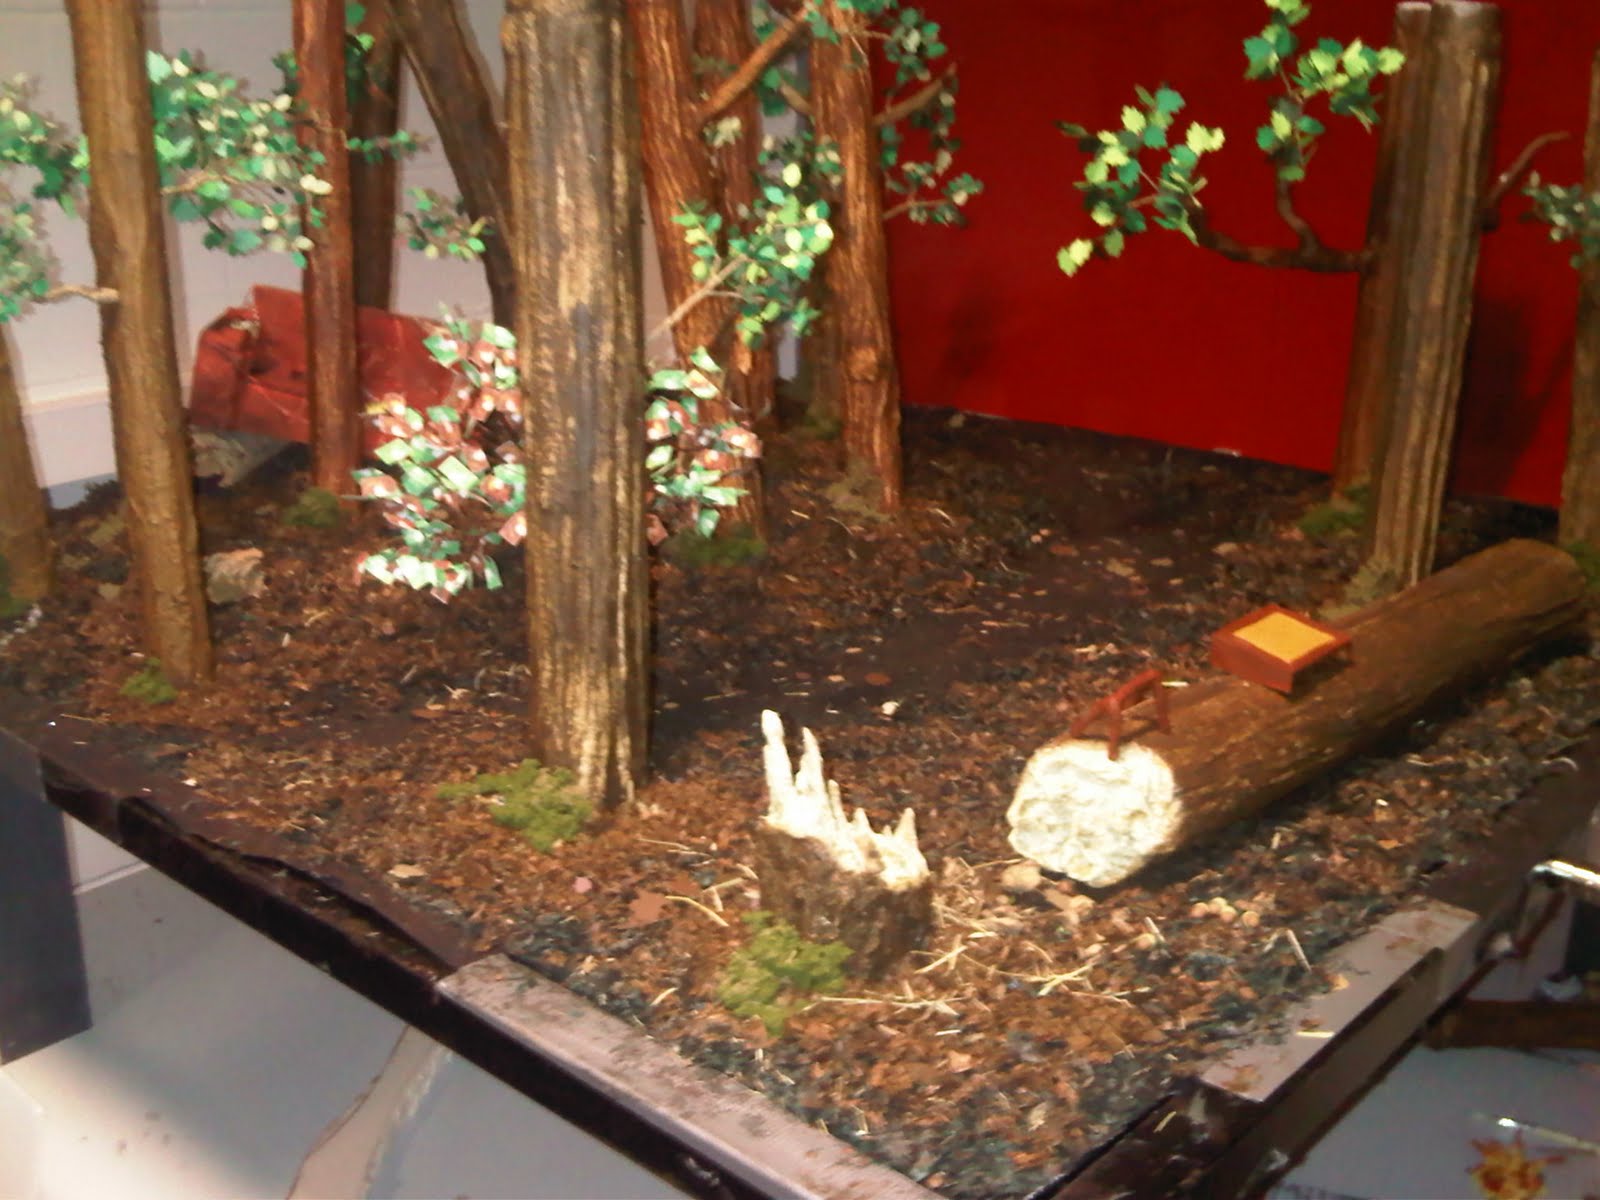
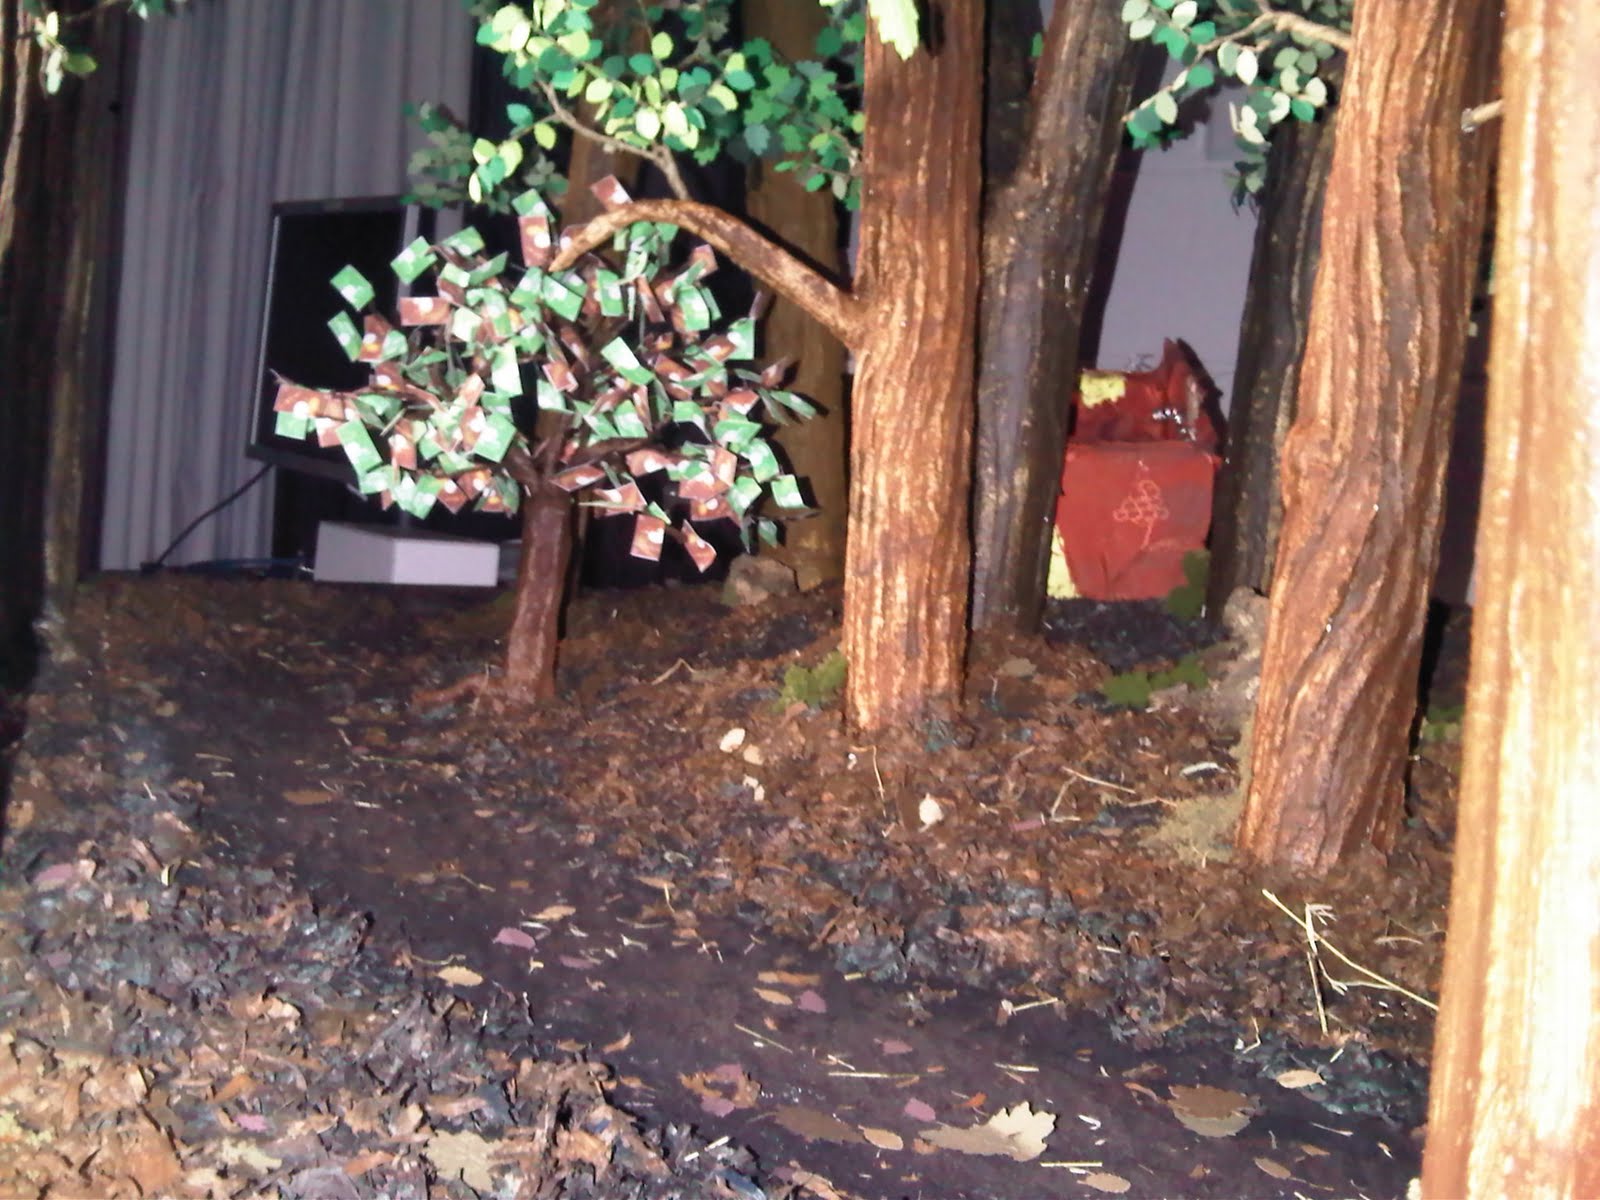
Here are some quick lighting shots of the finished forest set.

All the trees are now in position, the money tree is in the right spot and fixed down,

The fallen tree, which is also the fox's desk is removable so we can get the camera in position properly for some close ups.


100411 - The Props pt4 and Painting the Fox pt1

I recently got hold of a air brushing kit of a family friend, it needed some light work doing to it, to get it running again but with a few hours work, a new plug and fuse and it was running as sweet as a nut and ready to use again.

I will be using it to paint both the props and the also the fox puppet. This will allow me to get a thin layer on the fox and hopefully a nice finish, but also be a lot quicker than hand painting.

The paint I am using is just simple acrylic paint, thinned down with cheap nail polish that contains acetone.

I used nail polish as I couldn't get hold on any proper thinners cheaply, or in time and using water just split with the paint making it very lumpy, so after some trail and error I found a nail polish remover that worked.


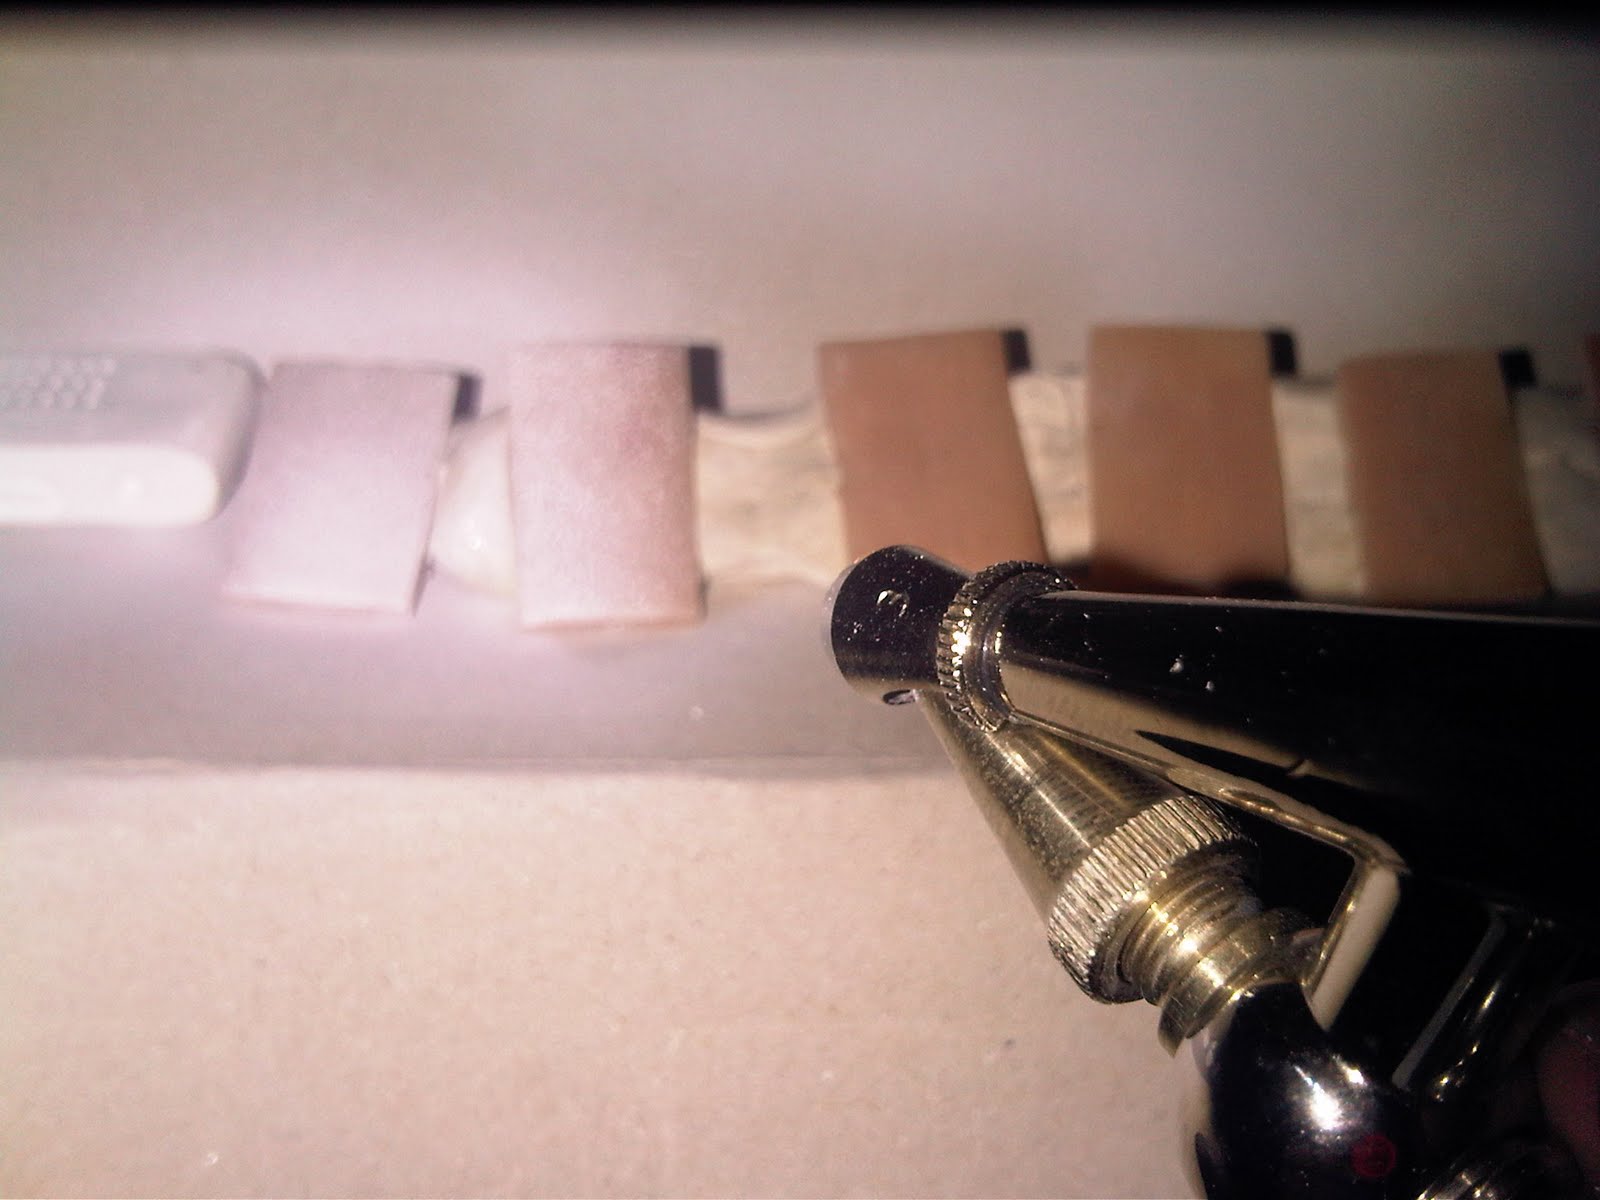
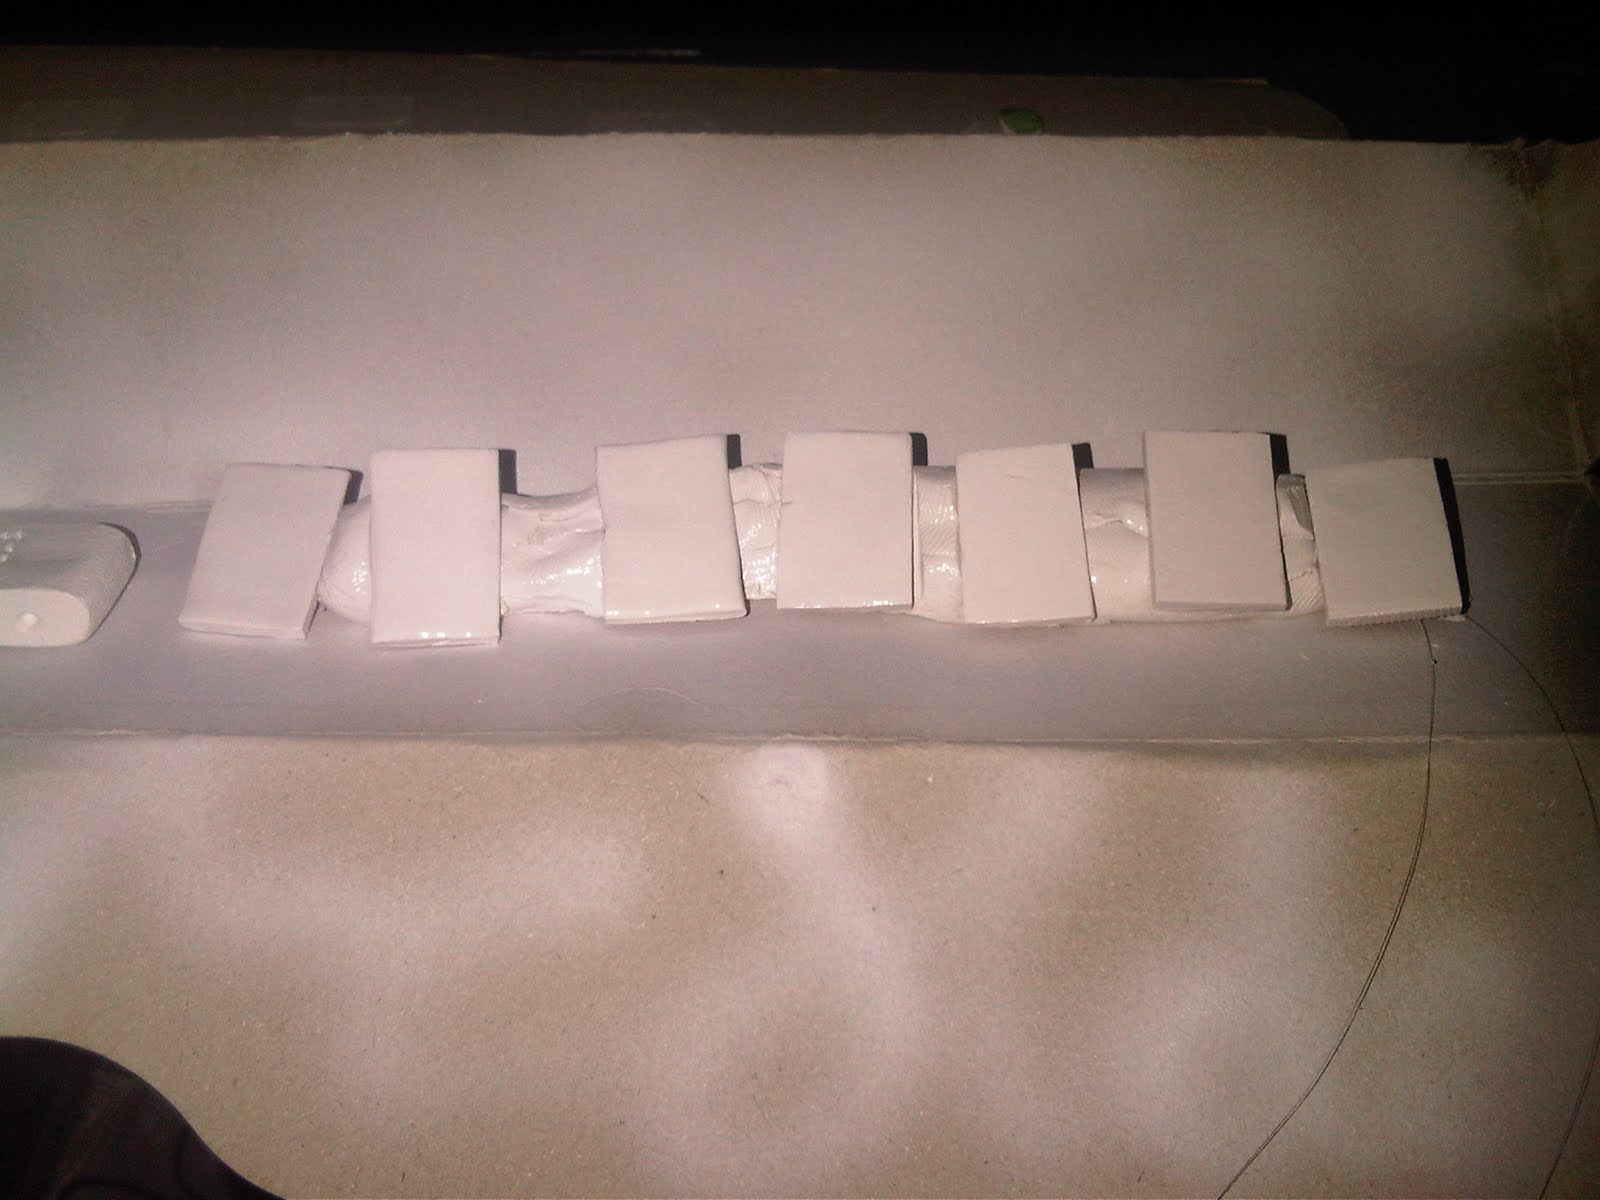
I first started work on the props, here I'm giving the first batch of DVD boxes a base coat of white.


Once dry, they then got a final coat of black.


With the props done and my new found confidence with the airbrush I began mixing up paint and testing it out ready to start on the fox.

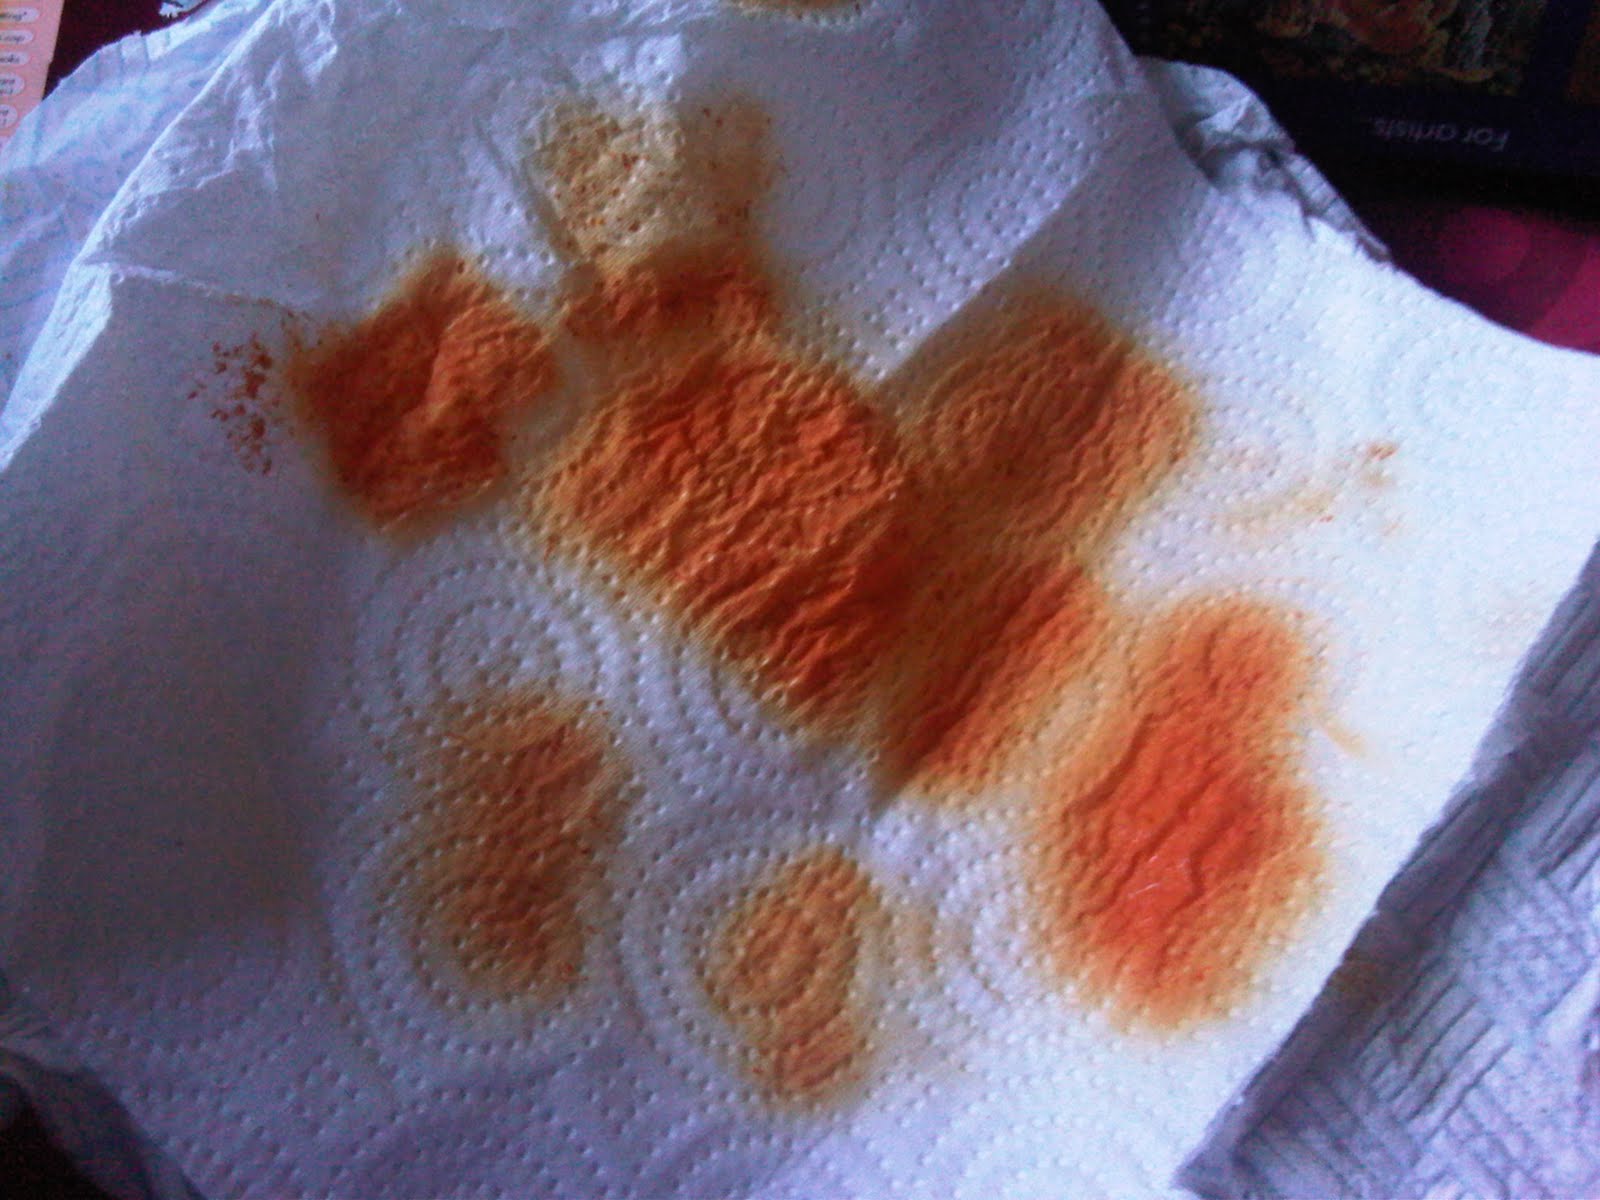
Here I was checking the final dried colour of the orange paint I mixed up and also getting the settings right on the gun as to get the best finish.


Once I was happy with the colour and the settings I grabbed a piece of left over foam latex (excess removed from the edges of the mould) and began spraying it. I did this so I could see if the foam latex reacted with the acetone I'd used in the paint.

Thankfully, once dry there was no adverse reactions and after a few more tests I was happy that I could start painting the puppet.


In total the fox was given around 5 light coats of the orange. This gave a nice solid colour and I was very pleased with the outcome.

The only downside is that with the fox being painted in acrylic, it will constantly need touching up and repairing during the filming process as it's cracks.

This however, is a lot better than having very thick noticeable creases at the joints that the latex mixed paint gave me and a compromise I was willing to make at this point in the process.


080411 - Animating Money

To add a little more atmosphere and realism to the forest scene we decided that some falling leaves (and money, for the money tree) would need to be green screened in, in post production.

Here I took some enlarged print outs of the money, and I'm simply adding in a layer of tin foil between the two halves of the money. This is essentially acting as a very basic armature, it will allow the money to hold a simple position (screwed/folded up) to make the animating of it easier and also slightly more realistic rather than it just been flat.


040411 - Walkcycle Test Fox - on Youtube

To see how well the new fox armature worked and how well the puppet moved I set about doing a few walkcycle test. This would also allow me to practice a quadruped walkcycle, something I've never done before so it will be some what of a challenge.

Here is one of my first attempts at a walkcycle using the puppet. I was quite pleased with the outcome, however it will take some more fine tuning yet before I will be truly happy with it.

As they say, practice makes perfect.

020411 - The Props pt3

Alex, Tom and myself continued to work on the props for Barney's house set.

Here I worked on the letterbox for the door that Tom made.

It's been made from Milliput, as it's very easy to use and sets solid within a few hours once mixed together. Very useful as the wooden door couldn't go in the oven.


To neatened the letterbox off I simple filed down the edges once the Milliput was set, all that's left to do now is the give it a coat of paint.

While the letterbox was setting I got to work on more of the props for the fox's desk.

Here I was working on his writing desk, where he will be writing all his letters to Barney.

It's been made from Super Sculpey, and will simple be glued together using 2 part epoxy and then either brush painted or air brushed.