Well, with the final coat of white latex finished on the foxes belly I began to see how well he moved after the paint job. The end result was not good.
The addition of a latex paint layer on top of the foam latex caused all the small creases that usually occur at the joints to be enhanced ten fold. The small creases were now very large and stood out like a sore thumb.

When the limbs were folded into place, the result was a very ugly, unrealistic looking limb, the joints creases were big and ugly, and resulted in the separate joints merging into one curved limb, with no defined joints, like knees, ankles etc.

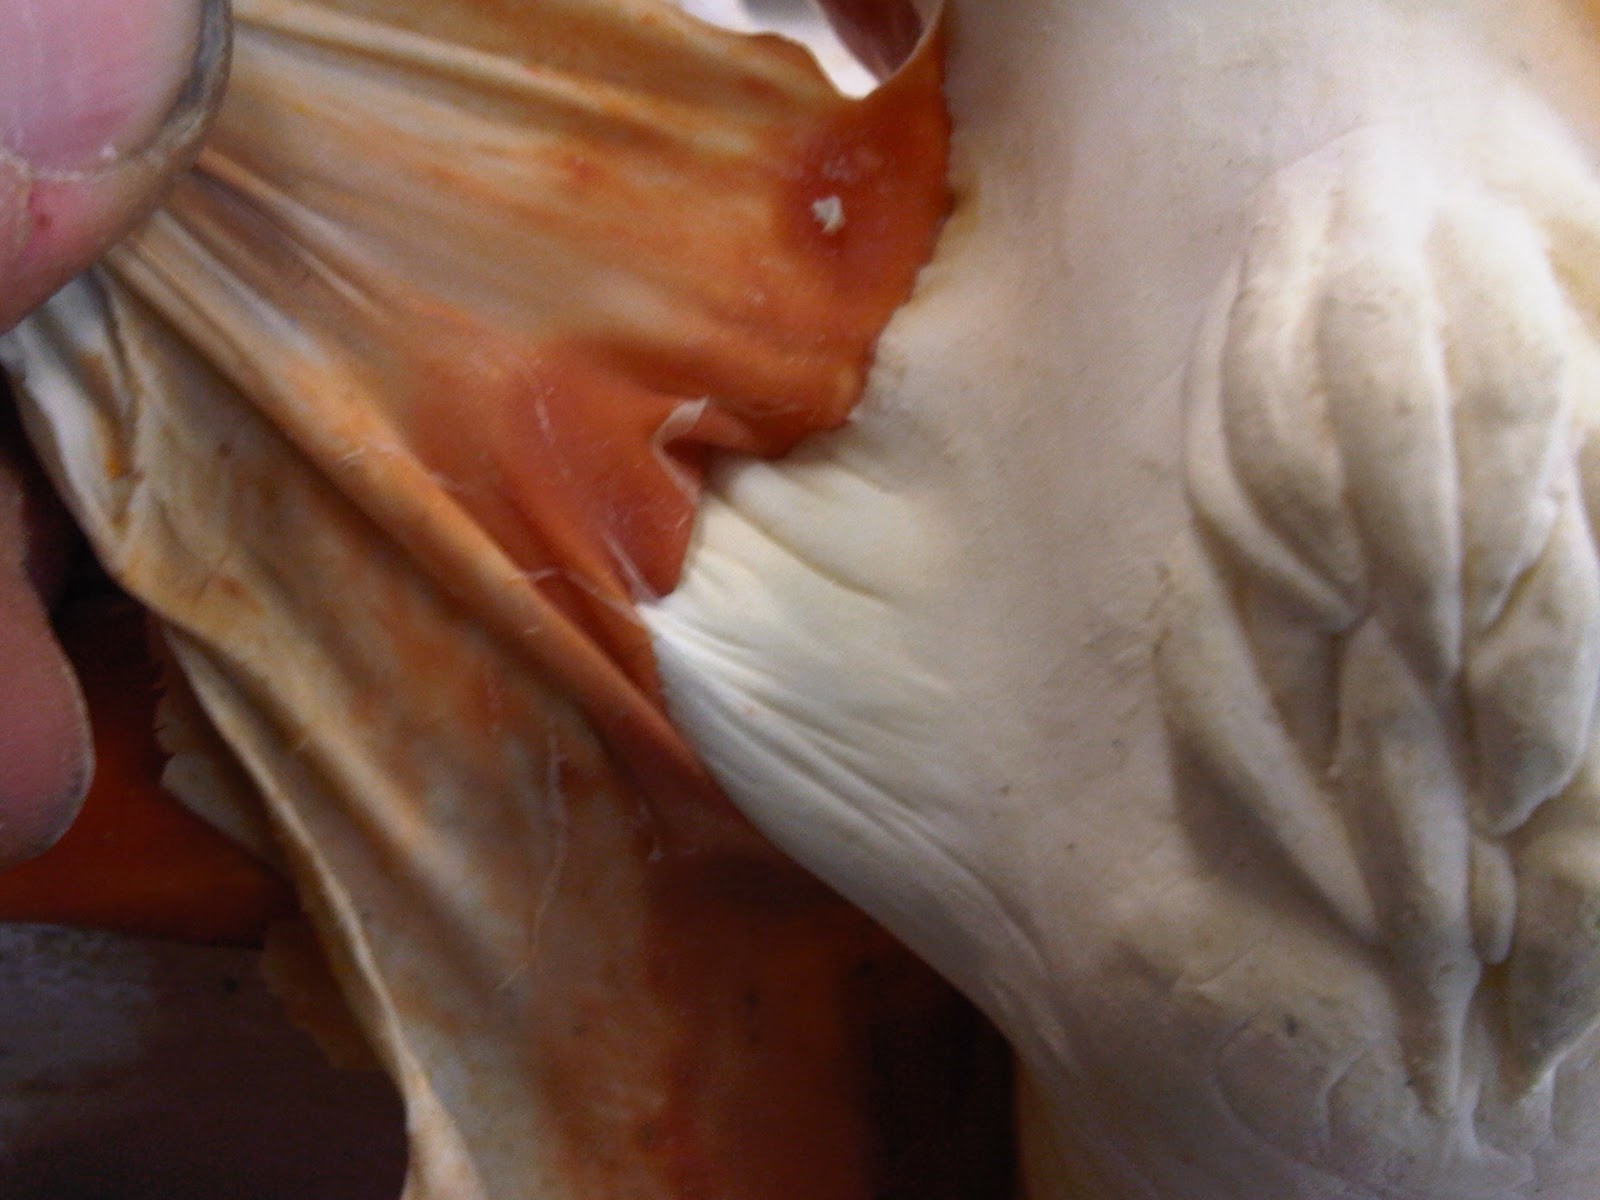
Out of curiosity I cut the belly of the fox open, expecting to find the latex soaked into the foam latex, but to my surprised the liquid latex formed a skin over the top of the foam latex that could be peeled off, revealed the untouched foam latex bellow.

The major snag about peeling the latex skin off was that I'd used a soldering iron on the seams, which melts the foam latex and makes it very sticky. At these points the liquid latex fixed to it very well and in areas began tearing the foam latex.
From this point I decided that it would be best that I redid the puppet, but keep this one as a backup, just in case I ran out of time and the 2nd attempt failed.
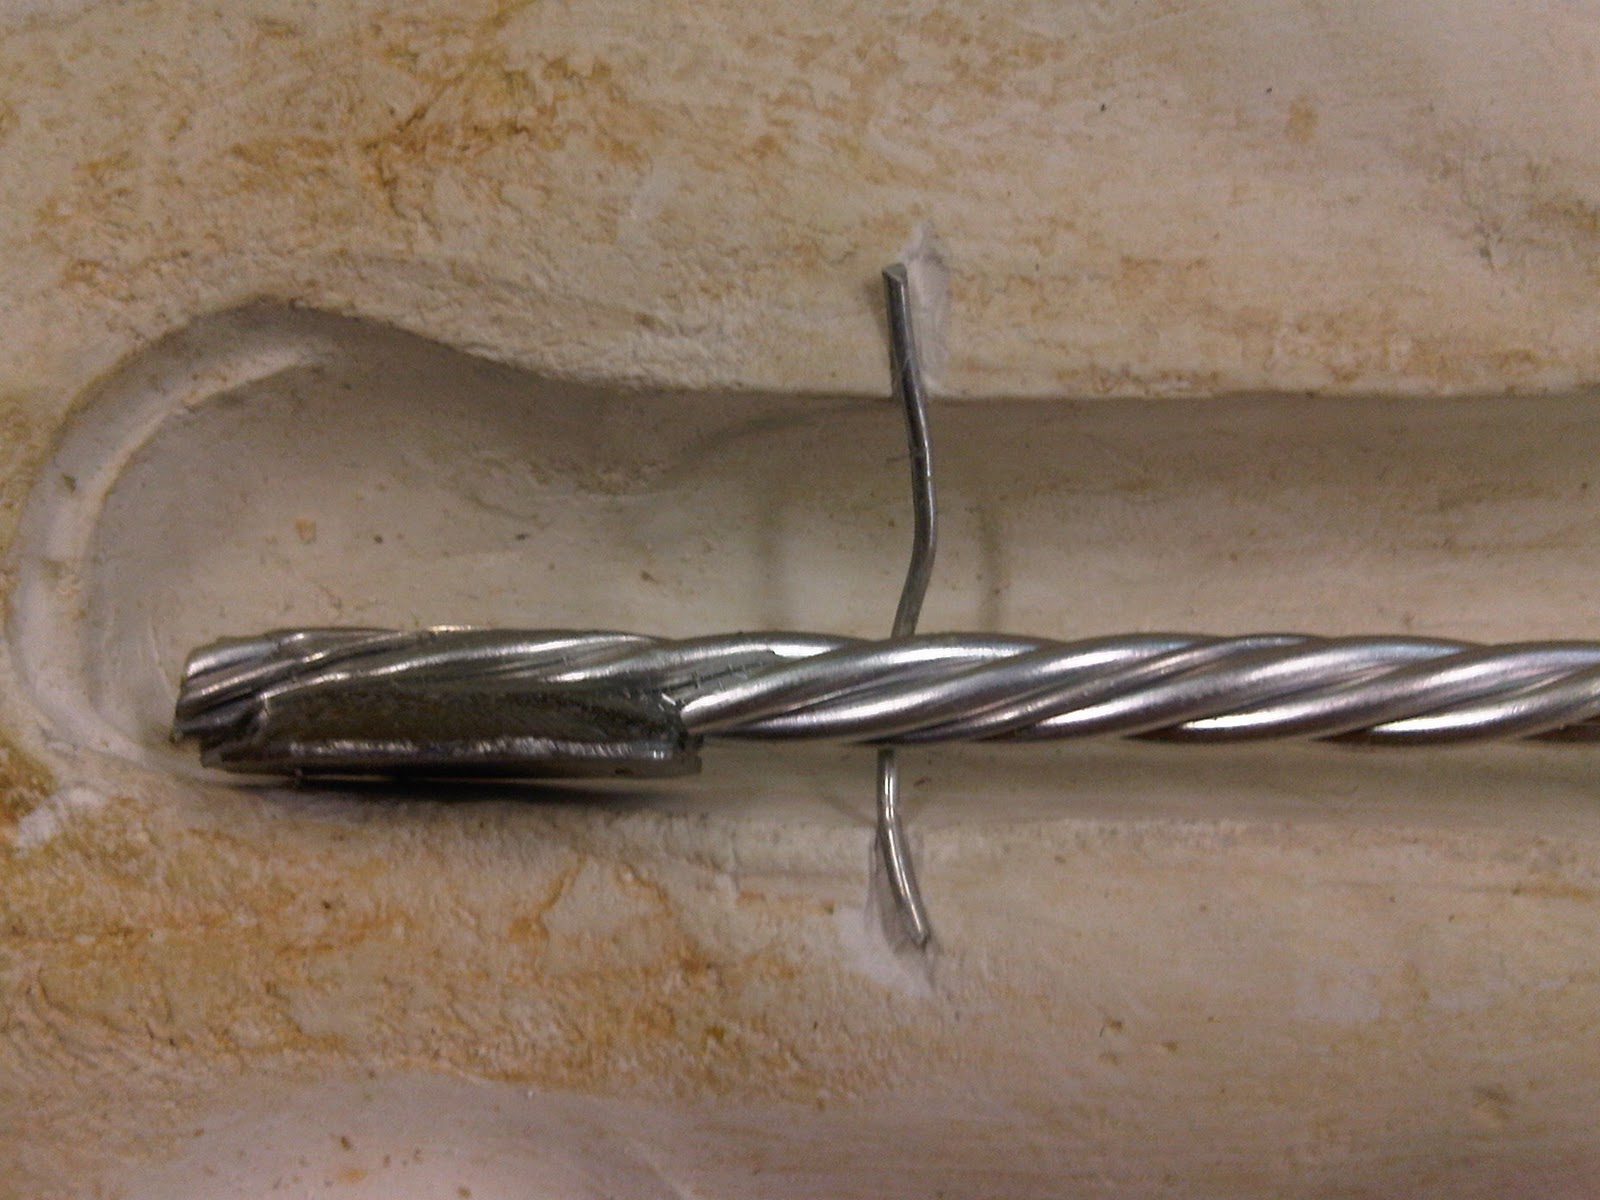
This time round I managed to make a better armature, with smaller, tidier joins in the shoulders and hips where the legs join the torso. I also sorted out a nicer way of attaching the tail using KandS tubing.


The head on the other hand didn't seem to go so well, but it fit perfectly in the mould so it's a good place to start.

I made the feel from thicker steel this time round too, this made the armature easier to animation with as the magnet would hold its weight very easily now.


No comments:
Post a Comment